

How Photographic Evidence Helps Resolve Deposit Disputes
When a landlord and tenant disagree about a deposit, the question is rarely whether something looks different. It is what the deposit scheme can see and rely on. Photographs are central, but only if they are taken and kept the right way.
What the deposit schemes say
The Deposit Protection Service (DPS) is direct about evidence. It says that a non-independent inventory that is unsigned and unsupported by photographs is unlikely to carry sufficient evidential weight. It recommends date-stamped photographs, and says photographs should come with an explanation of what they show and should clearly display the alleged damage.
mydeposits agrees on the detail. It advises that photographs should be embedded in the inventory or referenced to the matching section and initialled by the tenant, and that they should be digitally dated.
What to photograph at check-in
- Every room as a whole, from the doorway, so that the layout and general condition are clear.
- Every item you describe, especially anything with a mark, scratch, stain or defect.
- Meters, with the reading legible. The NRLA recommends meter readings with photographic evidence.
- Keys, as a set, so the number and type are clear.
- Alarms, to show they are present.
Take photographs that can be read
- Wide, then close. Show where the mark is, then show the mark.
- Use a size reference where it helps, such as a coin or a ruler, when you describe a mark's size.
- Good light. Avoid shadows and flash glare that hide the detail.
- One subject per photograph. A photograph of a whole wall does not clearly show a small mark.
Link each photograph to a description
A photograph on its own is easy to dispute. A photograph attached to a specific description of what it shows is much harder to dispute. The DPS asks for an explanation of what each photograph shows. Where the report keeps the photograph attached to its item, the connection is clear without extra effort.
Keep the originals
Keep the original image files. Do not edit, filter or crop the photographs you intend to rely on. Where you need a smaller version for a report, keep the original as well. Dated, unaltered files are easier to defend than edited ones.
Match your check-out photographs
At check-out, take photographs from the same position and with the same framing as at check-in. That lets a reader compare the two without argument. See Check-In vs Check-Out reports for how the two reports work together.
Photographs support judgement. They do not replace it
A photograph shows what something looked like. It does not show whether a mark is fair wear and tear or damage. For that, see fair wear and tear vs tenant damage. Receipts and information about age and cost matter too.
What happens in a dispute
GOV.UK says the deposit stays protected in the scheme until the issue is settled, and that it must be returned within 10 days of you both agreeing how much the tenant gets back. If you cannot agree, the scheme's dispute process looks at the evidence both sides provide. The adjudicator decides on what is put in front of them, which is why clear evidence matters.
The short version
- Photographs are most useful when dated, clear and linked to a description.
- Take wide shots and close-ups, and photograph meters, keys and alarms.
- Keep the originals unaltered.
- Repeat the same shots at check-out.
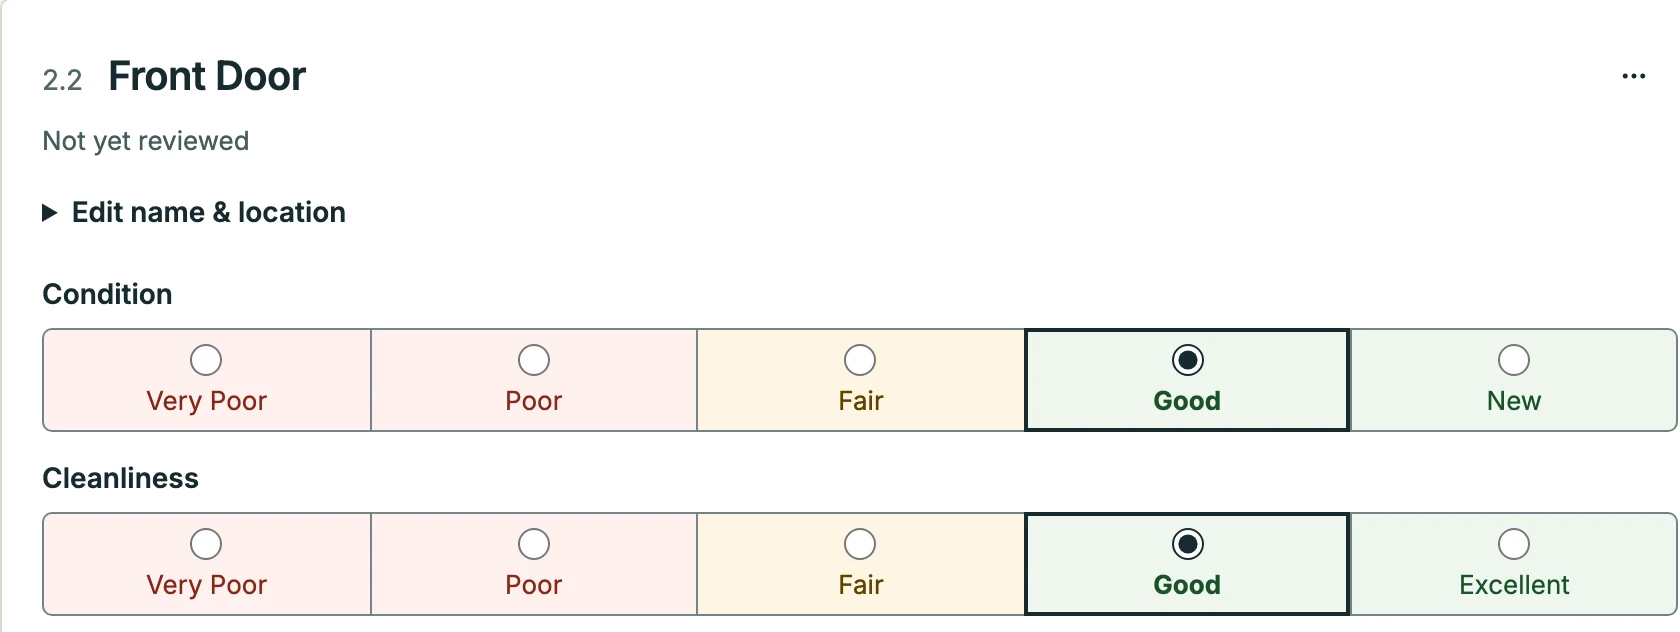
InventoryKit keeps each photograph attached to the room, item, meter, key or alarm it shows. See how the Check-In inventory works.
This article is general information for landlords in England and is not legal advice.