
How to Create a Professional Property Inventory Report
You do not need to be a professional clerk to produce a clear inventory. You do need to be consistent, specific and thorough. This guide walks through a practical process for landlords in England who want to do it themselves.
1. Get the property ready
Make the inventory when the property is clean and ready to hand over, ideally shortly before or on the day the tenant moves in. mydeposits advises completing it at that point so that it reflects the property as the tenant receives it. The NRLA recommends time-stamped photographs of the property before the tenancy begins, including after any professional clean.
2. Decide your scales before you start
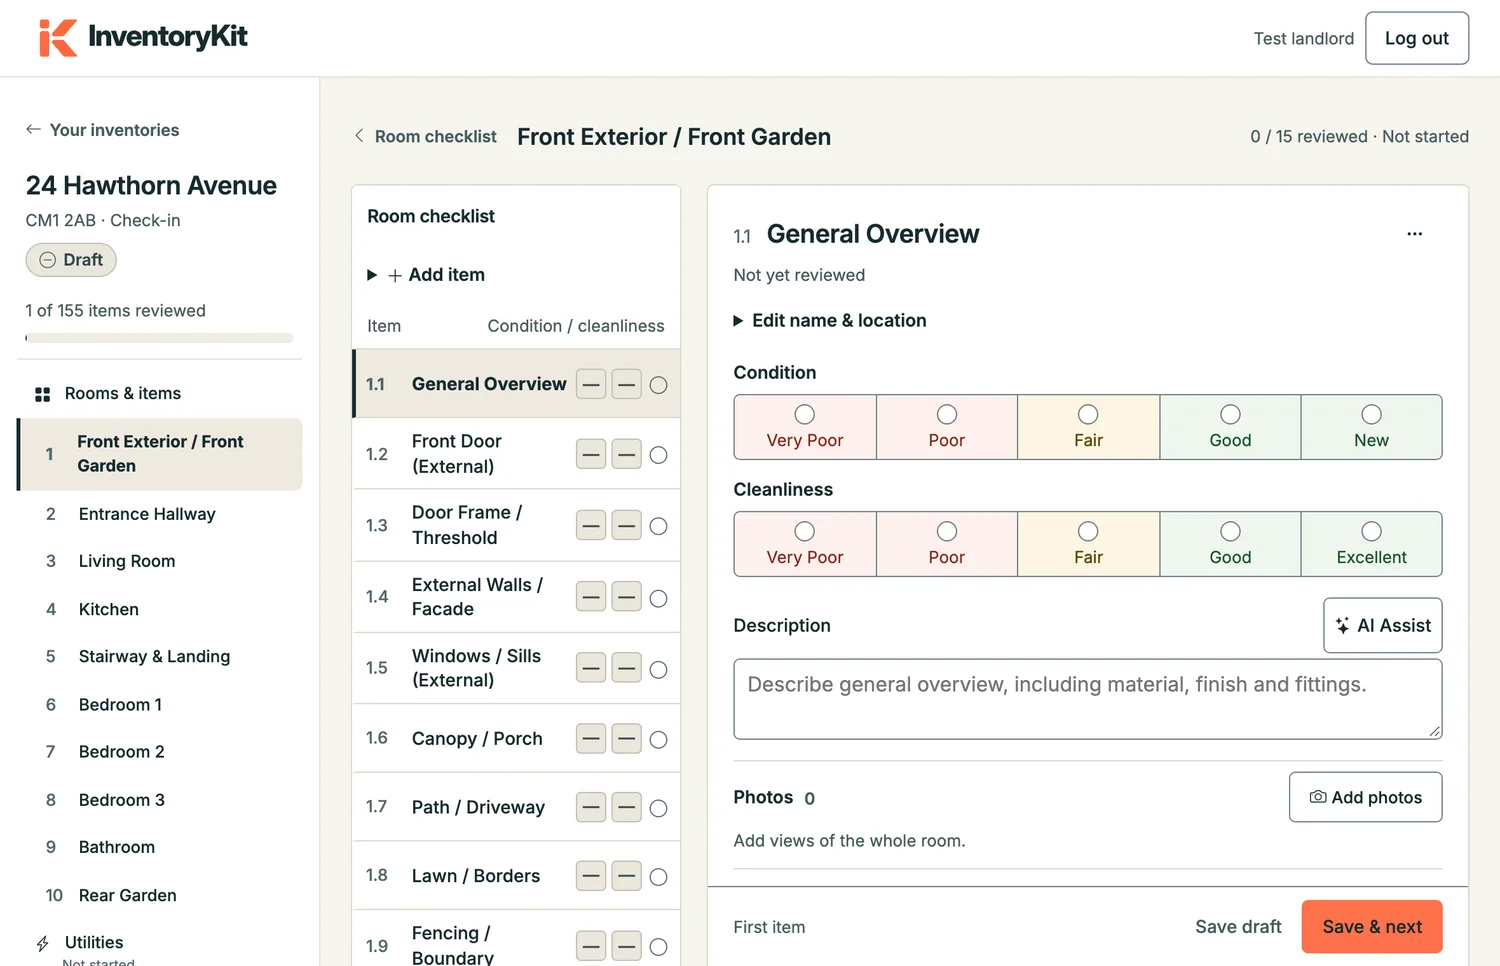
Choose one way of describing condition and one way of describing cleanliness, and use them for every item. The same words in every room make the report easier to read, and they let you make a direct comparison at check-out. mydeposits advises using the same terminology at check-out as at check-in.
3. Work room by room
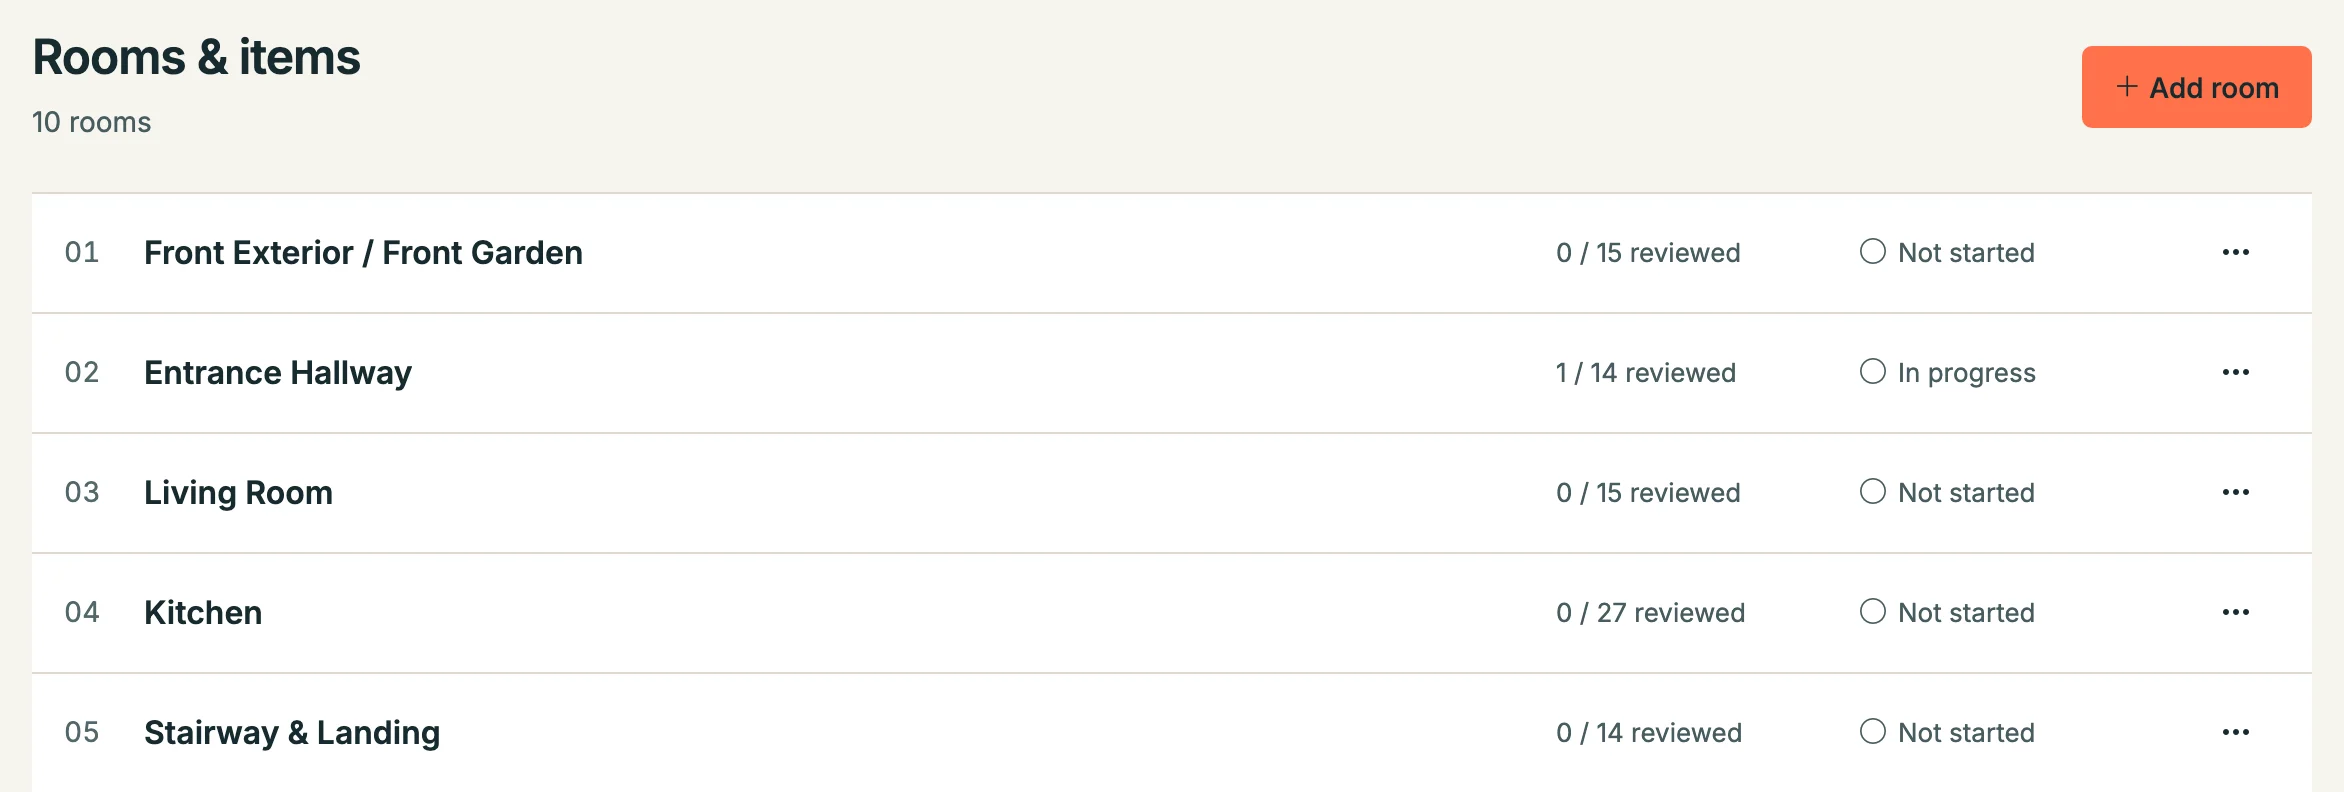
Start at the front door and move through the property in a fixed order. For each room, record the main elements first (walls, ceiling, floor, windows, doors) and then the fixtures, furniture and appliances. For each item, note:
- what it is
- its condition
- its cleanliness
- any marks, damage or defects, and where they are
4. Be specific
Specific entries carry weight. Vague ones do not. mydeposits advises against phrases such as "all good" or "in need of cleaning". Compare:
"Carpet: fair."
with
"Carpet: pale grey, fitted. Two small light marks near the window, each about the size of a coin. Otherwise even wear. Clean."
The second can be checked against a photograph. The first cannot.
5. Photograph as you go
Take photographs of every room as a whole, and then close-ups of anything you describe. The Deposit Protection Service recommends date-stamped photographs with an explanation of what they show, and the damage shown clearly. Attach each photograph to the item it shows, so that the record and the evidence stay together. See how photographic evidence helps resolve deposit disputes.
6. Record meters, keys and alarms
The NRLA lists meter readings with photographic evidence, a list of keys given to the tenant, and the results of smoke and carbon monoxide alarm tests as part of a good inventory. Record exactly what you did and saw. Do not record a test you did not carry out.
7. Let the tenant check it
Send the tenant a copy, or let them attend, and allow time for them to comment. mydeposits describes seven to ten days as the industry standard, and the NRLA says tenants should be given the opportunity to sign and comment. If they do not sign, keep evidence that you provided it. Keep a record of any amendments they request and what you agreed.
8. Keep the final version
Keep a clean, dated copy, and make sure you can show who received what, and when. If you later need to correct something, keep the original and record the change separately rather than overwriting it.
A quick checklist
- Property clean and ready.
- One condition scale and one cleanliness scale.
- Every room, in the same order.
- Specific wording for every item.
- Dated photographs attached to what they show.
- Meters, keys and alarms recorded.
- Tenant review period allowed.
- Final copy kept.
Doing it with InventoryKit
InventoryKit sets out the rooms and items for you, uses the same condition and cleanliness scales throughout, keeps photographs attached to their items, and shows what is missing before you finish. You still make every judgement. See how a Check-In inventory works, or follow our property inventory checklist.
This article is general information for landlords in England and is not legal advice.